W800-KIT-Bluetooth-Temperature and humidity sensor (cht8305c) -RGB The lamp-demo
@TOC
Bluetooth reference article:
W801 Bluetooth transceiver data and control design (one) -INDICATE
W801 Bluetooth transceiver data and control design (two) -NOTIFY way
Context of use:
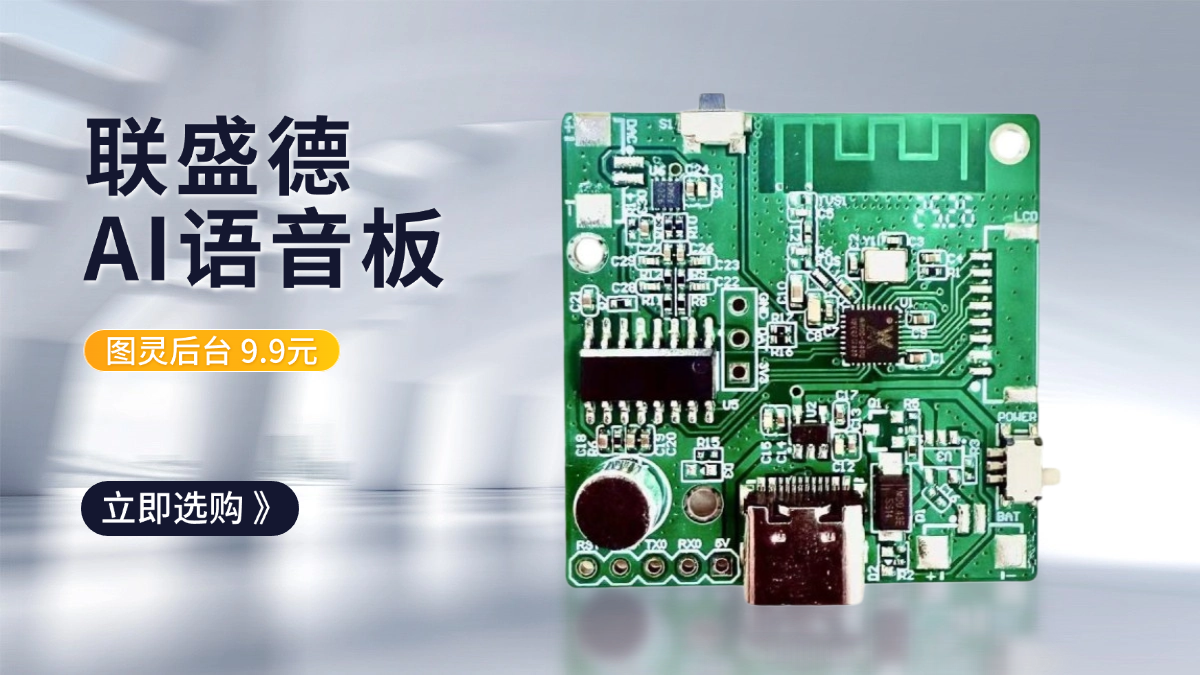
Master control: W800-KIT (Development board, Temperature and humidity will do)
compatible: W800 AIR101
Development environment: CDK
==Write in front: ==
W800-KIT The temperature and humidity sensor is faulty, High probability is a sensor problem. As of press time, The problem remains unresolved.
one, Project overview
^^^^This tutorial is about W800-KIT Basic use of development board (No audio included) , Onboard a temperature and humidity sensor (cht8305c) , single RGB Etc, And audio, of course, But this article does not cover audio.
^^^^official demo Is based on the command line, I think it's a little troublesome, So all of the following developments are based on CDK, At the same time the project is based on the above w801bt. Can see the previous bt article, It helps to get a good grasp of the whole, Of course he thinks he's in trouble, You can download the code for this article directly, direct read code. This text github address;
==This article involves some knowledge points, include C Language, Data sending and receiving, Programming according to the manual and so on. Very helpful for beginners, For starters, I recommend taking a closer look. Old hands can ignore==.
^^^^Program function: The development board collects temperature and humidity sensor data, CPU The temperature and voltage data are uploaded to the phone via Bluetooth APP, Mobile terminal APP The development board can also be adjusted RGB The light goes on and off.
two, Engineering design
^^^^For your understanding, This section mainly breaks down the entire project into three parts.
2. 1, Bluetooth data transfer
^^^^Communication is the foundation of the project, So the first step is to encapsulate the data format, Protocol that specifies the transmission, Ensure the correctness of data transmission, At the same time, make preliminary preparations for the following data collection (For example, Bluetooth is transmitted by bytes, The data uploaded by the development board is float type, Therefore, the data needs to be encapsulated) .
2. 1. 1, Development board data receiving format
^^^^See the schematic diagram, RGB There are actually three lights led, So use three of them separately IO Mouth control, To achieve different colors, The adoption is three WPM Control three IO Just say it. 
^^^^Development board receives data format:
| Baotou | Raw data | checksum | Wrapper tail |
|---|---|---|---|
| 0XA5 | 3 byte (Three lamps, One bit RGB Switching signal, 2 byte RGB value) | Sum of all raw data | 0X5A |
^^^^The table contains three bytes of data, The first byte is represented by eight bits:
| 0 | 1 | 2 | 3 | 4-7 |
|---|---|---|---|---|
| LED0 | LED1 | LED2 | RGB Switch | reserve |
^^^^The last two bytes indicate RGB Triad of lamp IO buccal PWM value, For convenience, This article uses something like RGB555 Data encapsulation, Every color used 5 Bit representation.
| 0-4 | 5-9 | 10-14 | 15 |
|---|---|---|---|
| R | G | B | reserve |
2. 1. 2, Development board data transmission format
The development board sends data mainly includes: CPU temperature (float) , CPU voltage (float) , Sensor temperature (float) , Sensor humidity (float) .
^^^^Development board sends data format:
| Baotou | Raw data | checksum | Wrapper tail |
|---|---|---|---|
| 0XA5 | 16 byte (cou voltage (4) , cpu temperature (4) , Sensor temperature (4) , Sensor humidity (4) ) | Sum of all raw data | 0X5A |
^^^^Notice that these numbers are all float data, In this paper, single byte transmission is used when Bluetooth transmission, Therefore, the data needs to be transformed. conversioncommunityrealize, Specific viewContext sensorDesign section.
2. 2, RGB Lighting design
^^^^RGB There are two ways to design the lamp, Separately controlled sum WPM Controls. ==The two controls need to be implemented separately, This paper mainly uses PWM, So the individual controls have been blocked, You can open it yourself if you want, recompile. ==
^^^^Received from Bluetooth==Raw data==Be stored inmsg[4]In array:
| 0 | 1 | 2 | 3 |
|---|---|---|---|
| Raw data length | three LED and RGB On-off state | PWM Upper eight | PWM Lower octet |
2. 2. 1, RGB Individual lamp control
^^^^Individual controls use only the first three digits, The program design is as follows:
void led_on_off (u8 data)
{
    //Judge each bit of data separately,  Note that each bit of data needs to be moved to the lowest level for judgment,  Corresponding on/off lights:  00 open  Other data close
    if (data & 0x01 ! = 0)
        tls_gpio_write (WM_IO_PB_00, 0) ;
    else
        tls_gpio_write (WM_IO_PB_00, 1) ;
    if (data " "  1&0x01 ! = 0)
        tls_gpio_write (WM_IO_PB_01, 0) ;
    else
        tls_gpio_write (WM_IO_PB_01, 1) ;
    if (data " "  2&0x01 ! = 0)
        tls_gpio_write (WM_IO_PB_02, 0) ;
    else
        tls_gpio_write (WM_IO_PB_02, 1) ;
}
==Look out==: Each bit of data needs to be taken out separately during the judgment, So you need to move right and merge&0x01, Mask to other bits of data.
2. 2. 2, RGB The lamp PWM Controls
^^^^PWM The controls are a little more complicated, APP sent PWM The data is two separate bytes, So you need to combine two bytes of data into one byte. This paper adopts community implementation:
typedef union RGB_DATA
{
    u8 rgb_u8[2];
    int16 rgb_i;

}RGB_DATA;
==Look out==: Explain briefly how this works, communityIndicates that all data uses the same address (Take the largest address as the base) , As can be seen, 16 steric rgb_i and rgb_u8[2]Use the same memory address. So put the Bluetooth data into rgb_u8 In an array of, Can be directly from rgb_i Read out synthetic 16 Bit data, In this way, data conversion is convenient and fast. Of course people ask? Why not do it by shifting? true int Type data can be processed by shifting, however float Type cloth? ? ? Therefore, the unified use of community to achieve data conversion. The following float The same way.
In addition, One more thing to note, ==Big and small end==Data concatenation will be affected, Of course, the general MCU does not have to consider this problem.
^^^^PWM The control code is as follows:
//PWM
pwm_demo (0, 100000, 255, 4, 0) ;
pwm_demo (1, 100000, 255, 4, 0) ;
pwm_demo (2, 100000, 255, 4, 0) ;
.
.
.
void led_pwm_rgb (RGB_DATA rgb_data)
{
    tls_pwm_duty_config (0, 255 -  (u8)  (rgb_data. rgb_i" " 10 & 0x1f) *8) ;
    tls_pwm_duty_config (1,  (u8)  ( (rgb_data. rgb_i " "5) " " 10 & 0x1f) *8+1) ;
    tls_pwm_duty_config (2, 255 -  (u8)  ( (rgb_data. rgb_i " "10) " " 10 & 0x1f) *8) ;
    //printf ("%d  pwm:  %d   %d   %d ", rgb_data. rgb_i,  (u8)  (rgb_data. rgb_i" " 10 & 0x1f) *8, 255 -  (u8)  ( (rgb_data. rgb_i " "5) " " 10 & 0x1f) *8,  (u8)  ( (rgb_data. rgb_i " "10) " " 10 & 0x1f) *8) ;
}
.
.
.
//RGB open
//The first 4 Bit data representation RGB Open or not,  Can be closed by sending data.
if (msg[1]" " 3 &0x01 ! = 0)
    led_pwm_rgb (rgb_data) ;
else
{
    tls_pwm_duty_config (0, 255) ;
    tls_pwm_duty_config (1, 255) ;
    tls_pwm_duty_config (2, 255) ;
}
^^^^functionpwm_demo (0, 100000, 255, 4, 0) Comparison pit, And the one I used before HAL Library is different, Wasted over an hour of my time. The parameters of the function are represented separately: passage, frequency, duty Sum of values period Radius. To highlight, Of this function period for 0 Representational continuous output PWM, So write directly 0, duty Indicates the value of the duty cycle, Modify in the program duty The duty cycle can be changed directly. functiontls_pwm_duty_configPresentation modification duty value, The first parameter is the channel number, The second is duty value. ==The range is 0-255==. Use in this article B0, B1, B2 Separate corresponding channel 0, 1 and 2.
^^^^pwm argumentrgb_data. rgb_iCome to 15 Bit significant data, Extract and assign values to RGB, One more note: 5 The digit can only represent to 31, It needs to be scaled up, thereforeR/G/B respectively*8. ==In fact, this code can be simplified, Straight to the right and then&0x1f just, You don't have to move left and right==.
2. 3, Sensor design
2. 3. 1, Check the T/H sensor manual
^^^^The first step is to check the manual, Generally speaking, the manuals are quite extensive, Just look for key data when you're looking, First look at the directory.  ^^^^As can be seen from the picture above, There are three key points, The first is register correlation, The second step is temperature measurement, The third is provided by the manual demo. Just read the data, Can be directly viewed demo, If there is any other need, You need to see what each register does individually, This article does not extend and only reads the data (Official hardware design fixed, Functions such as alarm cannot be realized) .
View the data reading procedure: 
^^^^You can see from the text in the box, No Settings are required before reading the data, Direct read 0x00 The data in the register will do, So this is easy, Go straight to the official demo. 

Design can be carried out directly according to the above process. There are errors in the official manual, ct8305I missed one h.
^^^^Specific temperature and humidity conversion manual 1. 1. 4 Note in subsection: 
^^^^It's given in the manual IIC The read and write execution sequence. If understood IIC If, You can just look at the picture, Looking at the picture is clear. 
In the pictureSstart, Aexpression ACK, SrStart to read, NA expression NACK, Pstop. concrete IIC The protocol is no longer explained, There is a lot of information on the Internet, You can check it out yourself. Translate the picture into vernacular: initiate-Write device address (0x80) -Write register address-await 20ms-Write and read device addresses (0x81) -Read four bytes of data at a time-stop.
2. 3. 2, Reading data from the T/H sensor
^^^^Temperature and humidity sensor pass IIC Perform data reading, So you need to deal with it first IIC Data reading and writing. Specific code directly view the source file, The core code is listed here.
/**
 * @brief    read multibytes from the specified address of the eeprom
 * @param[in] dev_addr the dev address
 * @param[in] addr the eeprom address will be read from
 * @param[in] buf     Pointer to data buffer
 * @param[in] len    amount of data to be read
 * @retval    null
 */
void IIC_ReadLenByte (u8 dev_addr, u16 reg_addr, u8 *buf, u16 len)
{
    //printf ("\nread len addr=%x\n", ReadAddr) ;
    //1 Start signal
    tls_i2c_write_byte (dev_addr, 1) ;
    tls_i2c_wait_ack () ;
    tls_i2c_write_byte (reg_addr, 0) ;
    tls_i2c_wait_ack () ;
    tls_i2c_stop () ;
    tls_os_time_delay (22) ;
    tls_i2c_write_byte (dev_addr|0x01, 1) ;
    tls_i2c_wait_ack () ;
    while (len "  0)
    {
        *buf++ = tls_i2c_read_byte (1, 0) ;
        tls_i2c_wait_ack () ;
        len --;
    }
    tls_i2c_stop () ;
}

typedef union CHT_DATA
{
    u8 cht_i[8];
    float cht_f[2];
}CHT_DATA;
void read_cht8305c_read (CHT_DATA *cht_data)
{
    uint16 temp_i = 0;
    uint16 humi_i = 0;
    //Data specification:  temp_h temp_l humi_h humi_l
    u8 cht_d[4] = {0};
    IIC_ReadLenByte (i2c_cht8305c_addr, 0x00, cht_d, 4) ;

    temp_i =  (cht_d[0] " "8)  + cht_d[1];
    humi_i =  (cht_d[2] " "8)  + cht_d[3];
    cht_data-" cht_f[0] =  (165*temp_i) /65535. 0-40. 0;
    cht_data-" cht_f[1] = humi_i/65535. 0;

    cht_data-" cht_f[0] =  (int)  (cht_data-" cht_f[0]*100) /100. 0;
    cht_data-" cht_f[1] =  (int)  (cht_data-" cht_f[1]*100) /100. 0;

    printf ("%f   %f  %x  %x  %x  %x\r\n", cht_data-" cht_f[0], cht_data-" cht_f[1], cht_d[0], cht_d[1], cht_d[2], cht_d[3]) ;

}
In the above codedev_addrfor 0x80. You can see that in the manual, AD0 Different wiring, The address will be different, W800 This development board is directly grounded, So the first address is used. (The address below does not include read/write bits, So there are only seven. ) 
Floating-point data and fixed-point data are still converted using community data.
2. 3. 3, Logic analyzer test
^^^^Use the logic analyzer to see if the three sets of data are correct: Write address and write register, delay, Read data.
- Write address and write register

As shown in the figure, The terminal writes the device address, Then write register address normal.
- delay 20ms

Normal delay time.
- Read data

Read data normal.
2. 3. 4, digression
^^^^So far. Through analysis IIC The read and write data is normal, Everything seems normal. ==however, The data printed by the terminal is as follows==: 
==That's obviously not the right number, this. . . . The temperature has always been 30 around, Humidity does change, But is the humidity right? ? ? ==
I once wondered if I was doing something wrong, But I read the manual, I also tried the official code. It's all wrong data, So I only suspect that the board's hardware is broken. . . . . I also consulted the authorities, Officials also say the data is flawed. hahaha , Hardware issues are not discussed, The program logic follows the manual. . . . Let's focus on the idea, Master the learning method.
2. 4, Data packet sending
^^^^Go straight to the code:
//The length of the sent data:  0x5a+data_len+verify+0xa5
////Check bits are valid data and do not include frame headers and tails, cpu8 Byte temperature and humidity 8 byte
bt_send_data_len = 11+8;
typedef union ADC_DATA
{
    u8 adc_i[8];
    //contain CPU Voltage and temperature
    float adc_f[2];
}ADC_DATA;
//0xa5 (0)  8 Data  (s)  (1-8)  verify (9)  0x5a (10)
. . . . . . . . . . . . . . The following code is not a finished function,  Yes partial code,  Complete download github ENGINEERING. . . . . . . . . . . . . . . . . . . . . .
//Add header
send_data[0] = 0xA5;
send_data[bt_send_data_len-2] = 0;
for (u8 i=0; i "8; i++)
{
    //unloading cpu Voltage and temperature data to send array
    send_data[i+1] = adc_data. adc_i[i];
    //Transfer the T/H sensor data to the sending array
    send_data[i+8+1] = cht_data. cht_i[i];
    //Calculated checksum,  Sum of valid data
    send_data[bt_send_data_len-2] += adc_data. adc_i[i];
    send_data[bt_send_data_len-2] += cht_data. cht_i[i];
}
//endframe
send_data[bt_send_data_len-1] = 0x5A;
//printf ("send state: %d \r\n", tls_ble_server_demo_api_send_msg (send_data, 3) ) ;
tls_ble_server_demo_api_send_notify_msg (send_data, bt_send_data_len) ;
three, test
CPU voltage, CPU temperature, The T/H sensor data is normal. Procedure. 
Development board normal: On off LED_RGB normal. Slide button LED The color is changing. 
About the author
Related article
Hot article
Hot issue

Wait for answer
Recommended expert


Such a good thing, Like Favorites first, recomment! fierce!
Excuse me, Can find android Is the source code?